Swirlydoos Kit Club, Ultimate Designer Challenge – Week 2

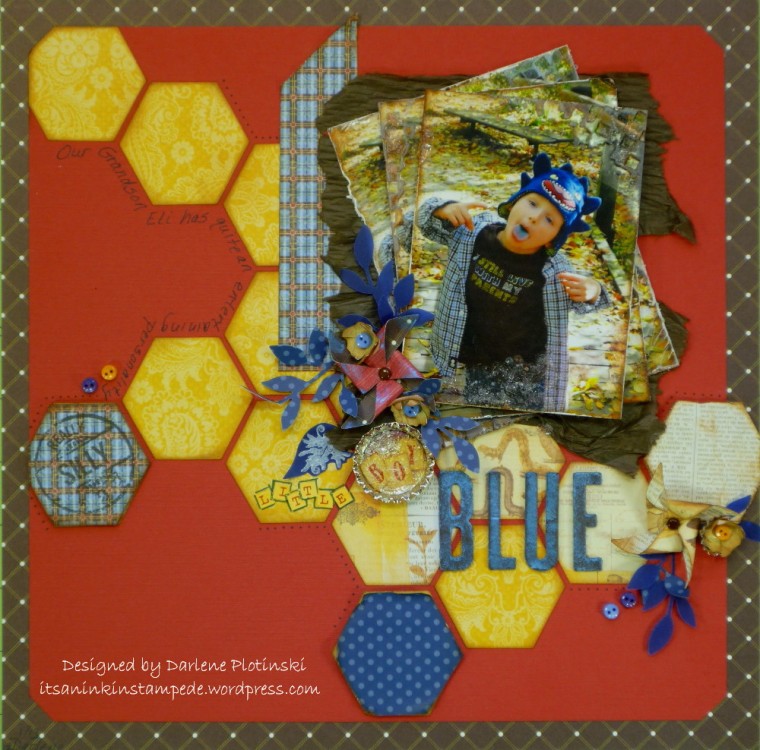
Well I wasn’t eliminated in Week 1 ….whew!  I am very surprised because these participants are amazing.  For Week 2  we were asked to show our Paper Layering Technique so this is the design I chose to use.  I was inspired by the sketch from Cricuit Inspired Layouts.  I kept it pretty true to the original design except I changed the landscape photo orientation to portrait.

Hex Sketch

P1070313

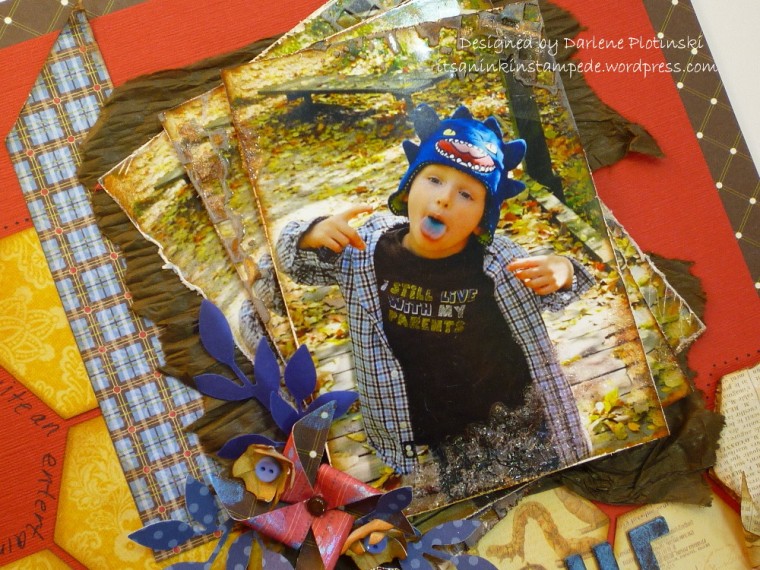
For this layout I began layering the  photo first.  I distressed the edges, added spots of embossing and then even added some Distress Crackle Paint in Rock Candy directly onto the photos.

P1070308  P1070310

I wanted to make this photo of my grandson Eli the main focus of this layout.  I love the bright blue and of course the matching tongue so I kept the background more on the monochromatic side adding a touch of a complimentary patterned papers.

P1070300

P1070305  P1070297

I kept the embellishments on the whimsical side since this is a boy themed page.  I am a big fan of the new Stampin’ Up! Sizzlits S Die (item # 129411) so I added a few of those and used a dark brown brad for the center.  I also added some touches of Perfect Pearls Mist in Forever Blue for some highlights.  So cute!  I also made some very masculine looking flowers using the Stampin’ Up Petite Curly Label Punch (item # 129405) currently being introduced during the Sale-a-bration Promotion thru March 22, 2013.

P1070293

 P1070307

Aren’t these Bottle Caps cute?  They are the Stampin’ Up! Soda Pop Tops (item # 129388) from the 2013 Spring Catalog.  I added some mini letter stickers (for the word BOY) to the bottom of the cap.  I covered the entire bottom with the same Distresss Crackle Paint used earlier and let it dry completely. To stop the crackle from falling off I added a smooth layer of Crystal Effects from Stampin’ Up! to seal it.

P1070298

 P1070311s

I used a deep navy ink and stamped my “Really Silly” image over the top of the plaid patterned paper.  I really like how this pattern almost matches exactly with my grandson’s shirt 🙂

P1070294

I added just one small journaling sentiment.  I felt that a full journaling block would take away from the focal point.

P1070295

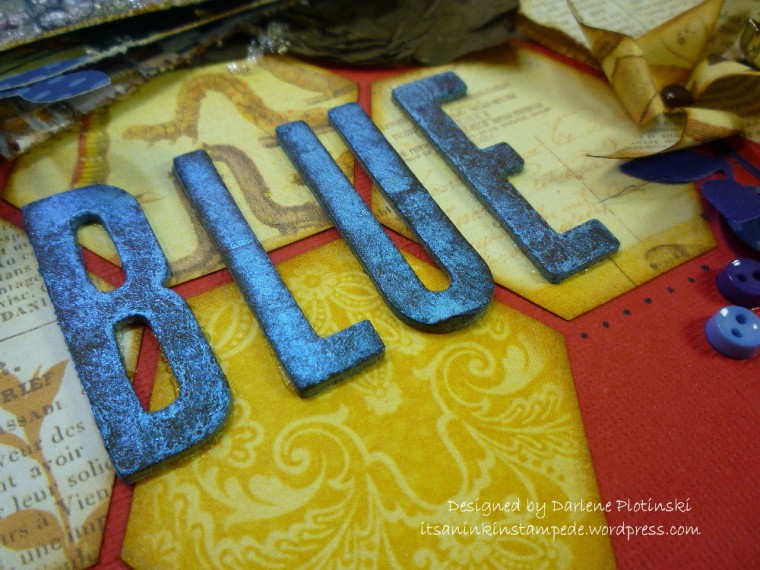
These are just basic chipboard letters that I had in my supplies.  I inked them with Staz-On Dark Brown ink and them used the same Perfect Pearls Mist spray to in Forever Blue.

P1070315

We will see if I move on to Week 3…..

Swirlydoos Kit Club, Ultimate Designer Challenge Week 1

I’m so very excited to have begun participating in Swirlydoos Ultimate Designer Challenge.  There are many amazing and talented people sharing all their beautiful projects.  I hope you will go visit the Swirlydoos gallery!

We were asked to create a multi-dimensional embellishment for use on a scrapbook page, card or altered item.  Our guidelines for making this embellishment were to use a die cut or piece of chipboard as the base and turn it into a dimensional (layered) usable embellishment.  We had to include TWO art mediums (gel, gesso, paint, pastes, glazes, etc.) and showcase it on a layout, card or altered item.

P1070291

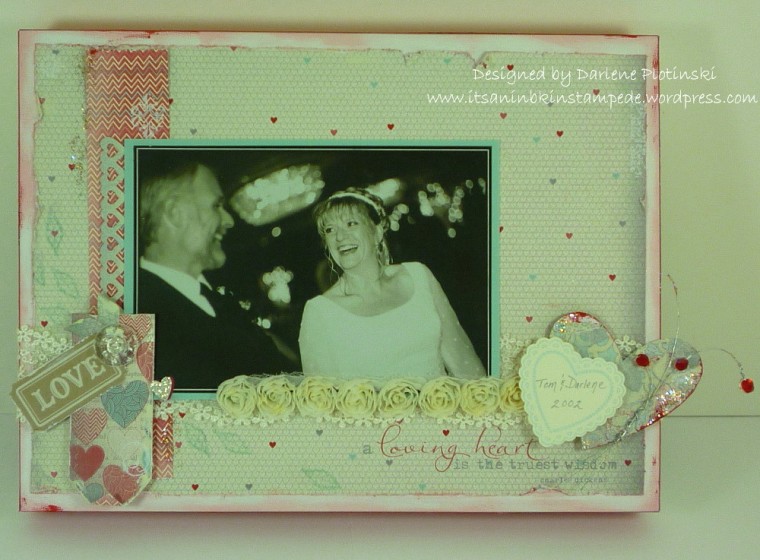
I did this layout on a 9″ x 12″ canvas using one of my wedding reception pictures of my wonderful husband and me on our wedding day.

Here is a close up of my embellishment.

P1070277

I made the embellishment base by die cutting the largest heart (Sizzix Tipsy Hearts ) out of medium weight chipboard.  I tore pieces of More Amore Specialty Designer Series Paper from Stampin’ Up!  and used gesso to collage/decopage the paper pieces onto the chipboard overlapping and leaving torn edges showing.  I added a touch of red acrylic paint onto the top of the layered paper once the piece was totally dry .

The second layered heart was embossed using Stampin’ Up! products.  The products are :  card stock -Very Vanilla, embossing powder-Pool Party, stamp set & framelits dies-Hearts a Flutter.  For the finished look on the embellishment  I took a few pieces of thin silver wire and bent and twisted them together to make a small spray to hold the beads.  I added a touch of ivory acrylic paint onto parts of the wire to give the embellishment that “shabby chic” look.

P1070278

I decided the embellishment needed a touch of glitter to make it pop once my project was completed….I just can’t stop adding LOL.  In the picture below I added  some  Ice Stickles in Coffee Ice.

P1070279

Each week our entries are reviewed and we are informed whether we move onto the next week.  Each week there will be eliminations until the final decision revealing the Ultimate Designer!  I will continue posting my entries as long as I remain in the competition…..holding my breath LOL.

I used some white rub-on’s and hand doodled throughout the layout with a glitter pen.  I even smudged some red acrylic paint and  stamped a heart image on the edges of the canvas.  To complete the layout I included a few items from the Stampin’ Up! Artisan Embellishments Kit.

  Hope you like it 🙂

P1070283    P1070284

P1070289    P1070286    P1070288